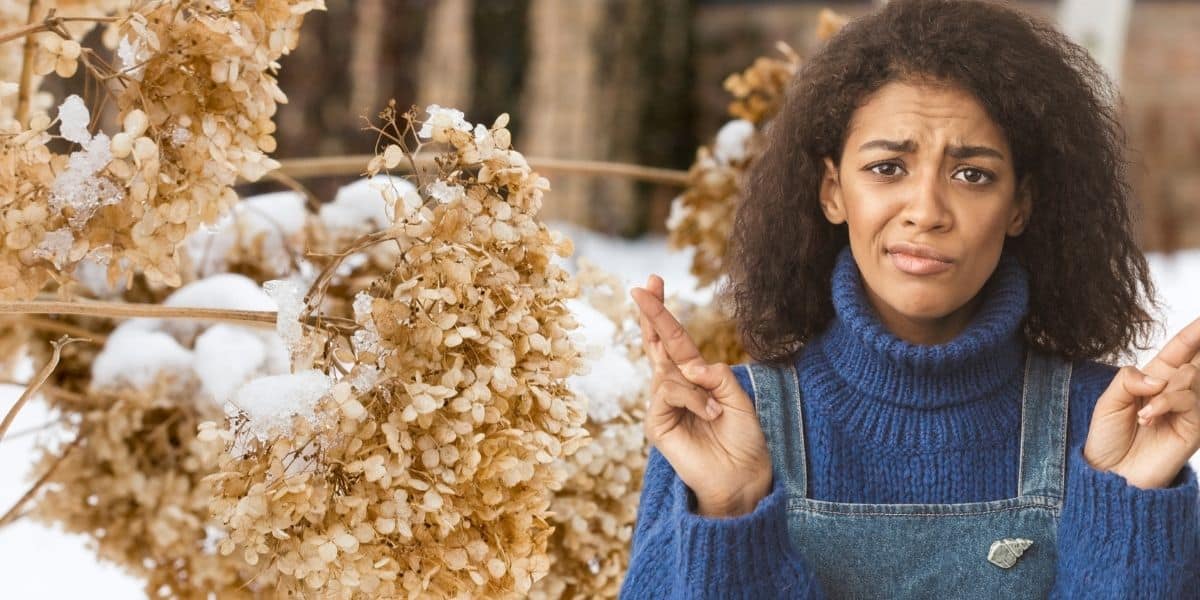
As the cold weather approaches, it’s essential to prepare your hydrangeas to ensure they survive the winter months. Winterizing your hydrangeas in just five simple steps can help protect them from harsh temperatures and ensure they thrive come spring. In this guide, we’ll walk you through the essential tasks to safeguard your beloved plants without overwhelming you.
Winterizing Hydrangeas in 5 Simple Steps
To effectively winterize your hydrangeas, follow these five straightforward steps: pruning, mulching, watering, covering, and monitoring. Each step will provide crucial support to your hydrangeas, allowing them to withstand the cold temperatures and sudden changes in weather.
Step 1: Pruning Your Hydrangeas
Start the winterizing process by indulging in some light pruning. It’s the perfect time to remove dead or diseased branches, which allows the plant to focus energy on its healthy growth. Be cautious, however, as the timing of pruning is vital; some varieties benefit from being pruned in the fall, while others prefer early spring. Use clean garden tools to prevent the spread of diseases among plants.
Step 2: Mulching
After pruning, apply a thick layer of mulch around the base of your hydrangeas. Aim for a depth of 6 to 8 inches, as this acts as an insulating barrier against the cold. The mulch not only protects the crown and roots but also helps retain moisture in the soil. As the season progresses, the mulch will break down and offer additional nutrients to the plants as well.
Step 3: Watering
It’s essential to keep your hydrangeas hydrated before winter sets in. Ensure that the soil is evenly moist but not overly saturated prior to the ground freezing. Lightly water the plants if the soil has dried out to prevent stress during the cold months. Adequate hydration promotes strong root systems that can better withstand frigid temperatures.
Step 4: Covering
To provide extra protection for your hydrangeas, consider wrapping them in a few layers of breathable fabric such as burlap. Loosely covering the plants allows for air circulation while shielding them from wind and freezing temperatures. If you experience heavy snowfall, be sure to gently shake off any excess snow to reduce the chance of branches breaking under the weight.
Step 5: Monitoring
Keep an eye on your hydrangeas throughout the winter. Regularly check the layer of mulch to ensure it remains intact and adjust as necessary. Once temperatures begin to rise in the spring and the threat of frost is gone, it will be time to remove the covering and any remaining mulch.
| Action | Details |
| Pruning | Remove dead or diseased branches for healthy growth. |
| Mulching | Apply 6-8 inches thick of mulch around the base. |
| Watering | Keep soil moist, but not saturated before freezing. |
| Covering | Wrap with burlap for additional protection. |
| Monitoring | Check mulch and coverings throughout winter. |
By following these five simple steps—pruning, mulching, watering, covering, and monitoring—you can ensure your hydrangeas are well-prepared for winter. As spring approaches, your plants will be healthier, sturdier, and ready to bloom beautifully. Remember to incorporate these practices as part of your regular garden maintenance.
Winterizing your hydrangeas is crucial for their survival and thriving come summer. As you continue to explore ways to enhance your garden and home, don’t forget to revisit this guide for useful tips and share it with fellow gardening enthusiasts. Stay tuned for more insights into home décor and seasonal gardening practices!